How to Make a Homemade Pie Crust with Freshly Milled Flour
This homemade pie crust with freshly milled flour is simple and delicious. Pie is family, bonding, tradition, and delicious. I love experimenting with different grains and recipes and I can’t wait to share this one with you. Don’t give up if you don’t get it the first time. It might take a few times to get this down.
Homemade Pie Crust with Freshly Milled Flour
Ingredients
Equipment
Method
- Mill your grains of choice. I used soft white wheat for this particular batch.

- In a large bowl, combine your freshly milled flour and salt. Stir to blend.

- Add in the tallow or lard and blend it into the flour with your fingertips or a pastry blender until it looks like coarse crumbs.

- Add the egg, water, and vinegar and stir with a fork until the dry ingredients are moistened.

- Form the dough into a ball.

- Divide that into three balls.

- Shape the ball into a disk and roll it out to a ⅛-inch thickness on a floured surface or between sheets of wax paper.

- Place the dough into a 9-inch pie pan by flipping it over in the wax paper.

- Trim the edges to a 1-inch overhang.

- Fold the dough under and then use your fingers to crimp the edges. I take my thumb and pointer finger of one hand and use my pointer finger on the other hand to do this all the way around.

- Repeat this process for each of the pie dough balls, or, wrap it in wax paper and put it in a zip lock bag in the freezer for up to 3 months.
Homemade Pie Crust with Freshly Milled Flour (Just Like Grandma Made)
Friend, if you’ve never made pie crust from scratch, I promise you — you can do this. It isn’t hard. It just asks for a little patience and a little love.
And when you use freshly milled flour? Oh my goodness. It takes it to a whole new level.
Let me show you exactly how I make my pie crust with freshly milled flour, the same way the women in my family made it for years — just with a little freshly milled twist.

Pie Is Tradition in Our Family
Pie isn’t just dessert around here. Pie means Sunday dinners. Pie means Thanksgiving with both sides of the family squeezed into one house. Pie means my grandma standing at the counter in her apron, crimping edges with steady hands.
My mom made pie. My grandma made pie. Both sides of my family passed down their own versions, but they all shared one thing — they made it from scratch.
They didn’t rush it.
They didn’t grab a box.
They took the time.
And yes, this recipe takes a little time too. You mill the wheat. You mix the dough. You roll it out carefully. But the first time you set a homemade pie on the table and someone says, “You made the crust?” — you’ll know it was worth every minute.
This is one of those skills that feels like a gift you hand to your family.

Ingredients for Pie Crust with Freshly Milled Flour
Here’s everything you’ll need:
- 450 grams soft white wheat, freshly milled
- 1 teaspoon salt
- 1 cup tallow or lard
- 1 large egg
- 1/3 cup cold water
- 1 tablespoon apple cider vinegar
Simple ingredients. Real ingredients. The kind our grandmothers recognized.

Why I Love Making Pie Crust with Freshly Milled Flour
I get so excited about this part.
When you mill soft white wheat fresh, you keep the bran, the germ, and the endosperm all together. That means you keep the natural oils and nutrients that store-bought flour loses over time. Freshly milled flour contains more vitamins, minerals, and fiber — and it hasn’t sat on a shelf for months.
And here’s the best part: it tastes better.
It gives this crust a slightly nutty, wholesome flavor that pairs beautifully with fruit pies, custard pies, even savory quiches.
You aren’t just baking. You’re nourishing your people.

How to Make Homemade Pie Crust with Freshly Milled Flour
Alright, let’s get our hands in some flour.
1. Mix the Dry Ingredients
Grab a large bowl. Add your freshly milled flour and salt. Stir them together until everything blends evenly.
2. Cut in the Fat
Add the tallow or lard. Use your fingertips or a pastry blender and work it into the flour. Keep blending until the mixture looks like coarse crumbs. You want little bits of fat throughout — that’s what creates flakiness.
3. Add the Wet Ingredients
Crack in the egg. Pour in the cold water and apple cider vinegar. Stir with a fork until the flour mixture moistens and starts to come together.
4. Form the Dough
Use your hands and gently bring the dough together into a ball. Don’t overwork it. Just gather it.
5. Divide the Dough
Divide the dough into three equal balls. This recipe gives you enough for multiple pies or to freeze some for later.
6. Roll It Out
Take one dough ball and shape it into a disk. On a lightly floured surface — or between sheets of wax paper — roll it out to about 1/8-inch thickness.
Take your time here. You can turn it as you roll it so it stays even.
7. Transfer to the Pie Pan
Flip the rolled dough over into a 9-inch pie pan using the wax paper to help guide it. Peel the paper away GENTLY.
8. Trim the Edges
Trim the dough so it hangs about 1 inch over the edge of the pan.
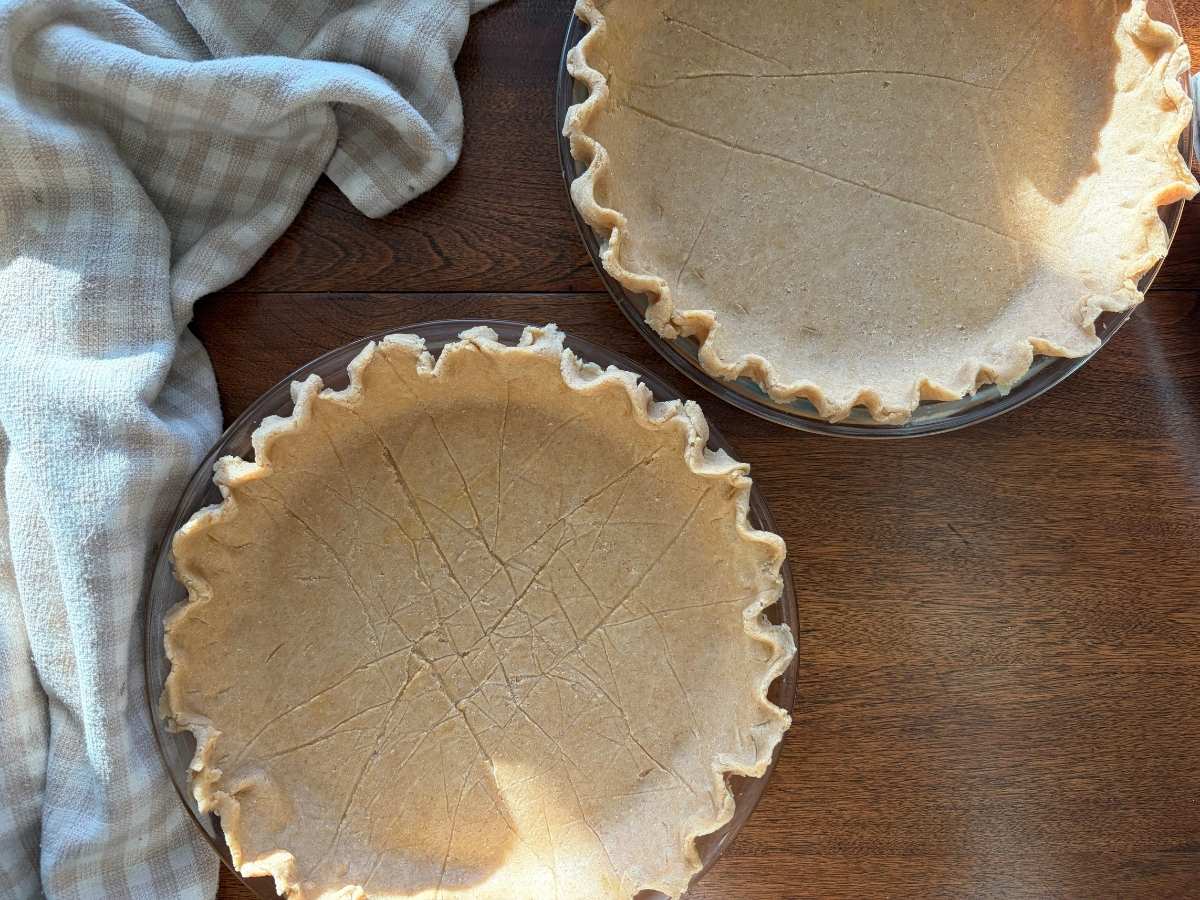
9. Fold and Crimp
Fold the overhang under itself to create a thicker edge.
Now comes my favorite part. I take my thumb and pointer finger on one hand and use the pointer finger from my other hand to press between them. I work my way around the entire crust, creating that classic crimped edge.
It feels old-fashioned in the best way.
10. Repeat or Freeze
Repeat this process with the remaining dough balls.
Or — wrap each disk tightly in wax paper, slide it into a Ziploc bag, and freeze it for up to three months. Future-you will feel very thankful.

Is It Worth the Time?
Absolutely.
Yes, you could buy a crust. Yes, you could save 20 minutes. But when you mill your wheat, mix the dough, and shape it by hand, you create something deeper than dessert.
You build tradition.
You slow down.
You make something your children will remember.
And one day, maybe they’ll say, “My mom always made her pie crust with freshly milled flour.”
And that, my friend, makes every bit of effort worth it.


Anna Barbour
Hey there, my name is Anna, and I am so excited to share Keep It Simple Anna Sue with you. I am a wife, mother of two young men, and currently in a pre-empty nester season of life. God knew I needed blogging way before I did. Being a pre-empty nester has left me with…extra time. I decided to use that time for creativity and for helping others to see that if I can do it, they can do it too. Learn more about me.